
🖥️Playing with Mods (NeoForge / Forge)

This guide explains how to set up a modded Minecraft server and how to install the required mods on your computer.
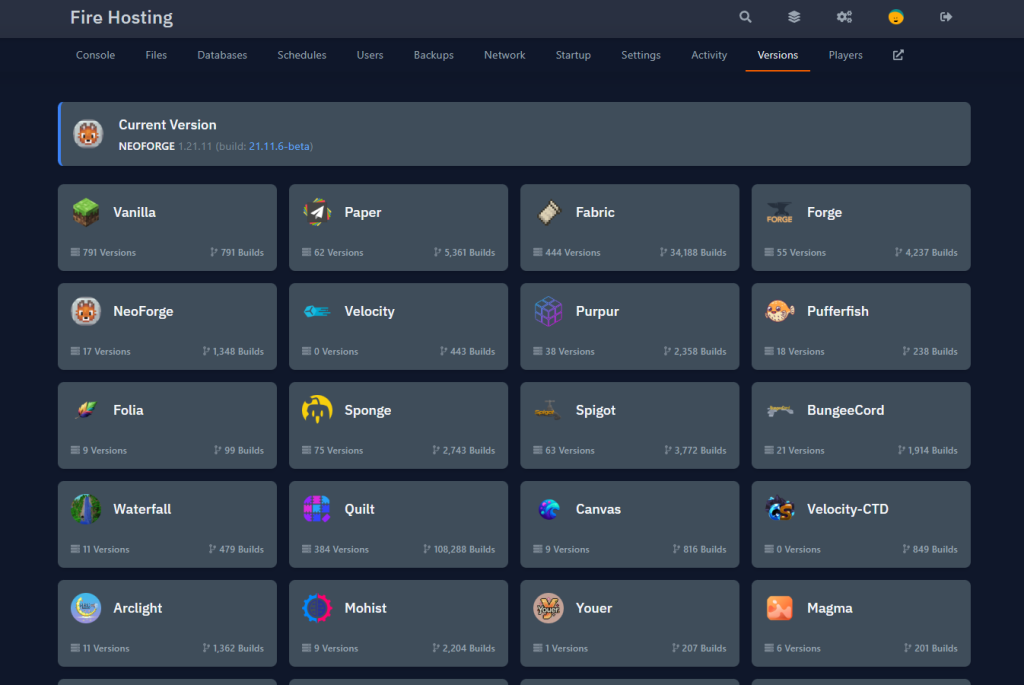
Choosing a Modded Server Version
- Go to the Fire Hosting control panel
- Select your Minecraft server
- Open the tab used to change the server version / software
- Choose a modded server type:
- Forge
- NeoForge
For this example, we will use NeoForge.
- Select the NeoForge version that matches your Minecraft version (e.g. Minecraft 1.21.1 – NeoForge)
- Confirm the installation
The panel will now install NeoForge automatically.
First Server Start (Initialization)
- Start the server once by clicking Start
- Let the server fully start
- This step is required to initialize files and folders
- Once started, stop the server
Accessing the Mods Folder
- Go to the Files tab in the panel
- You will see several folders created automatically
- Open the folder named:
mods
This is where all server mods must be placed.
Downloading Mods
You now need to choose mods that are compatible with:
- The Minecraft version (example: 1.21.1)
- The mod loader (NeoForge in this example)
Recommended websites:
⚠️ Always check that the mod supports NeoForge and the correct Minecraft version.
Installing Mods on the Server
- Download the mods you want
- Make sure the files are in .jar format
- Upload or drag-and-drop the .jar files into the server’s
modsfolder - Once all mods are uploaded, start the server again
The server will now load the installed mods.
Installing NeoForge on Your Computer (Client)
To join a modded server, you must have the same mod loader and mods installed on your PC.
Step 1: Download NeoForge
- Go to the official NeoForge website
- Download the installer for your Minecraft version (example: 1.21.1)
Step 2: Install NeoForge
- Open the downloaded NeoForge installer
- Select Install Client
- Choose your Minecraft directory (default is recommended)
- Click Install
Once installed, a new NeoForge profile will be available in your Minecraft launcher.
Step 3: Install Mods on Your PC
- Open your Minecraft directory:
- Windows:
%appdata%/.minecraft - Linux:
~/.minecraft - macOS:
~/Library/Application Support/minecraft
- Windows:
- Open (or create if it does not exist) the folder:
mods
- Copy the exact same mods (.jar files) that are on the server into this folder
⚠️ The mods must match the server:
- Same mod loader (NeoForge)
- Same Minecraft version
- Same mods and versions
Step 4: Launch Minecraft and Join the Server
- Open Minecraft Launcher
- Select the NeoForge profile
- Click Play
- Go to Multiplayer
- Join your Fire Hosting server
✅ You are now playing on a modded Minecraft server with NeoForge on Fire Hosting.