How to Start a Minecraft Server

This quick tutorial will show you exactly how to start your Minecraft server. Of course, you’ll need a server first! If you don’t have one yet, you can check out our different Minecraft server plans available on Fire Hosting.
Accessing the Panel
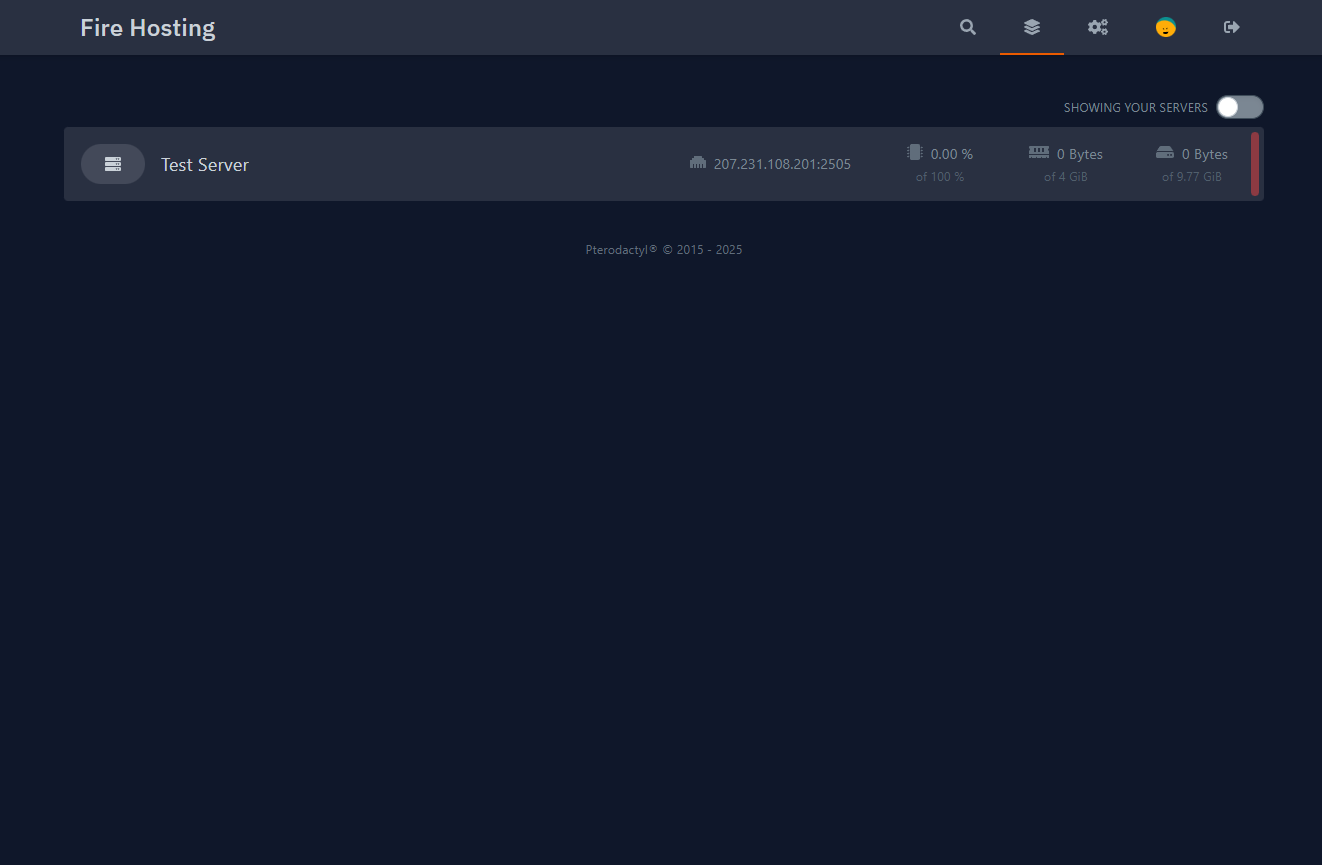
Once logged into the Fire Hosting panel, you will see a list of your servers.
- Click on your Minecraft server to view more information
- You will be redirected to the server management page
Understanding the Console
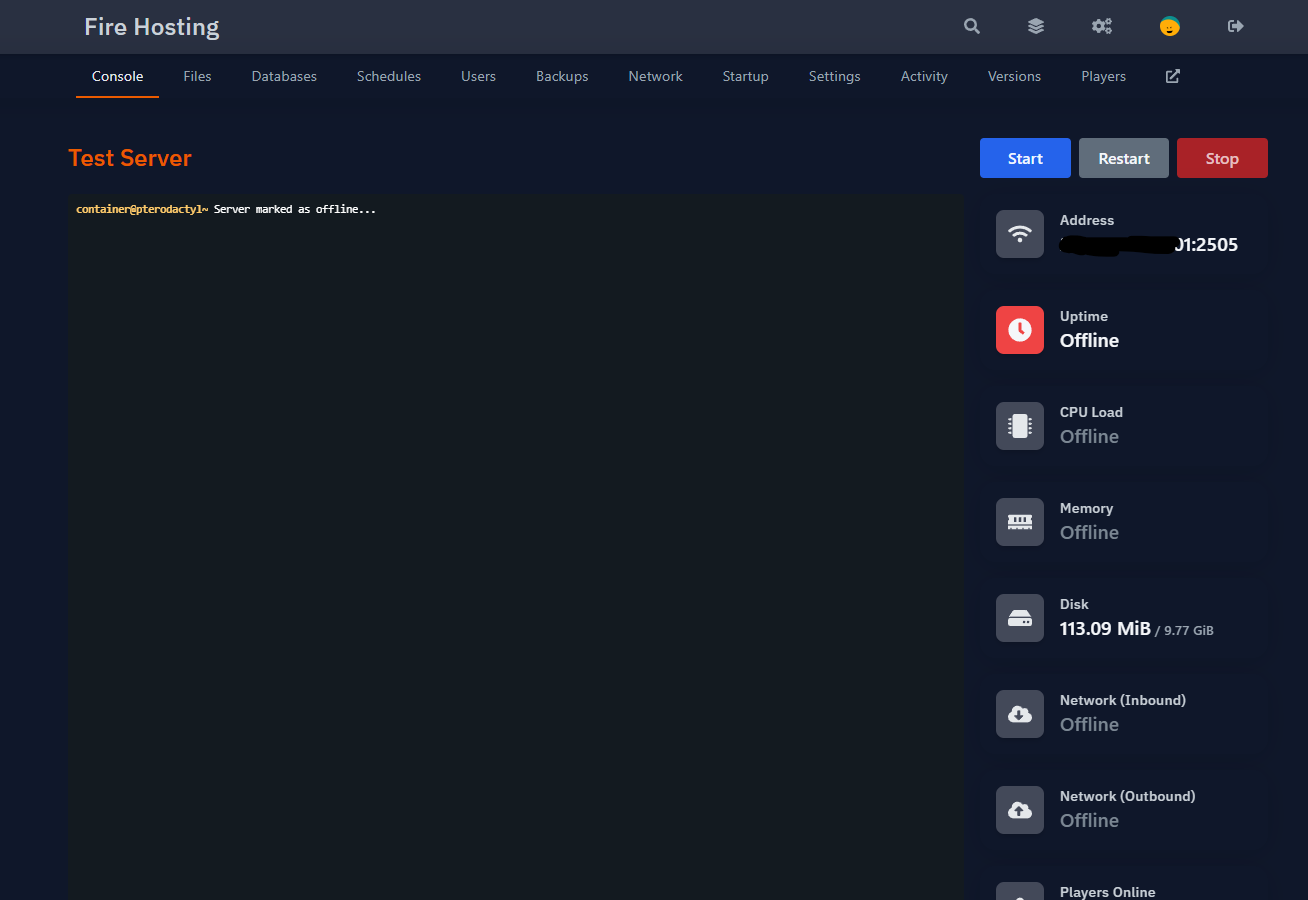
On the server page, you will see a large black block in the center of the screen. This is the server console.
If you see the message:
Server marked as offline...
This means that your server is currently stopped.
Starting the Server
- To start the server, click the “Start” button located at the top right of the panel
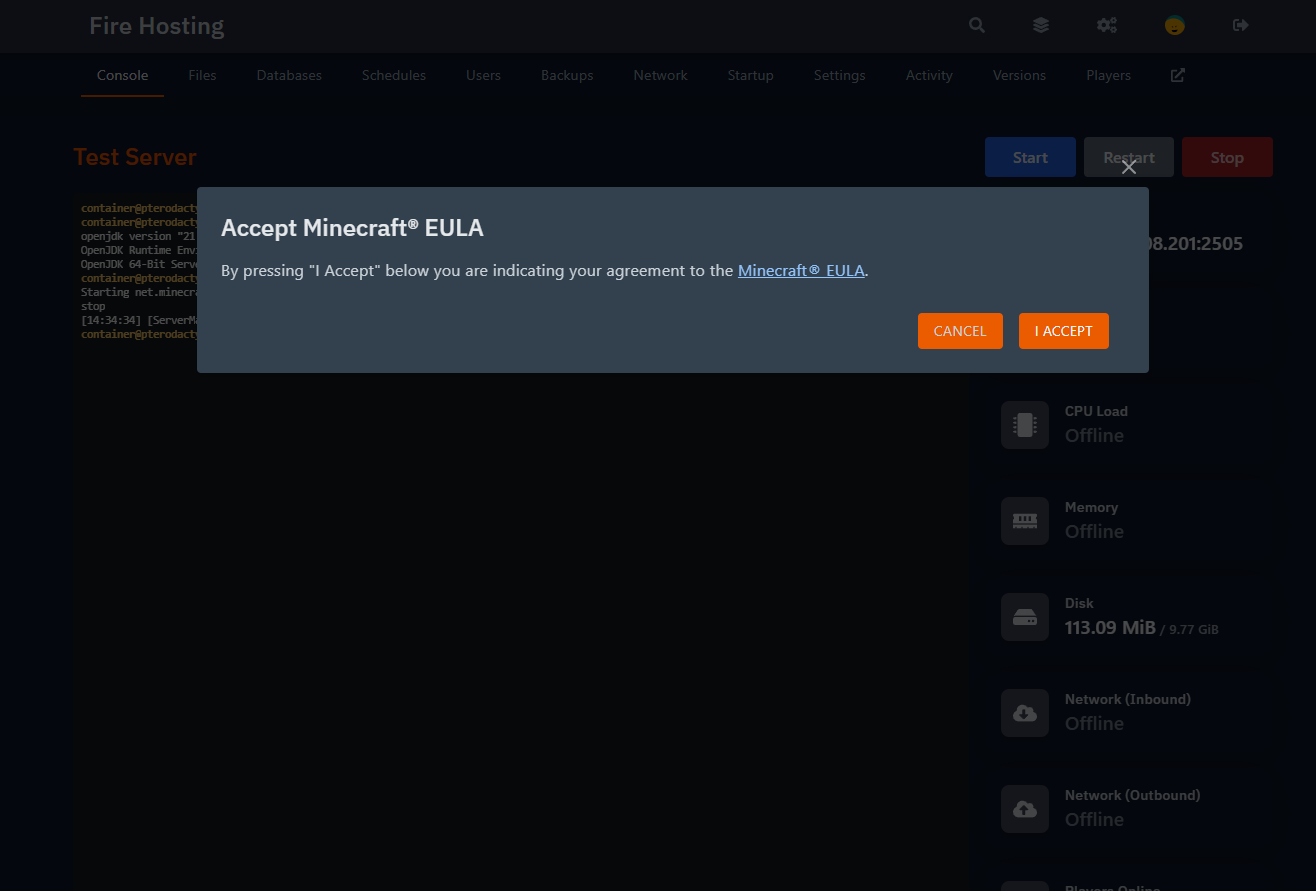
- After a few seconds, a message will appear asking you to accept the Minecraft EULA
- You must accept the EULA, otherwise the server will not start
After accepting the EULA, the server will continue starting.
Server Startup Behavior
- The startup process usually takes 1 to 2 minutes
- During startup, you may notice high CPU usage
- This is normal and only happens during initialization
- CPU usage will decrease once the server is fully started
Default Server Configuration
By default:
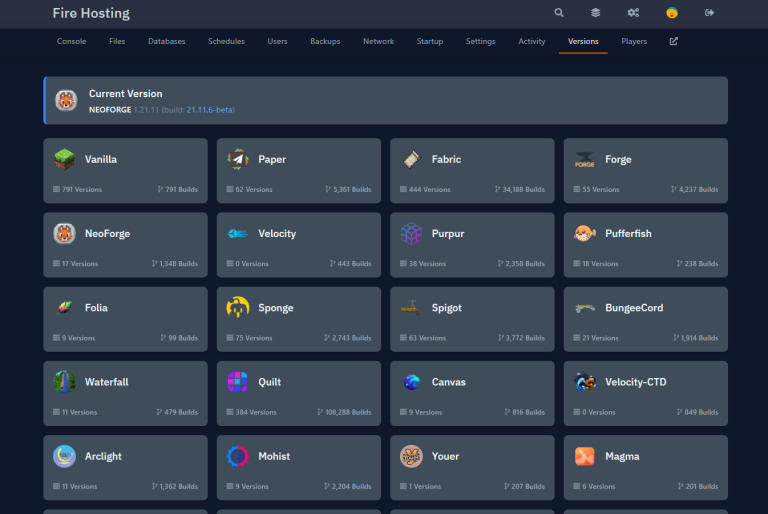
- The server is running Vanilla Minecraft
- No mods or plugins are installed
- The server is set to the latest Minecraft version
Joining Your Minecraft Server
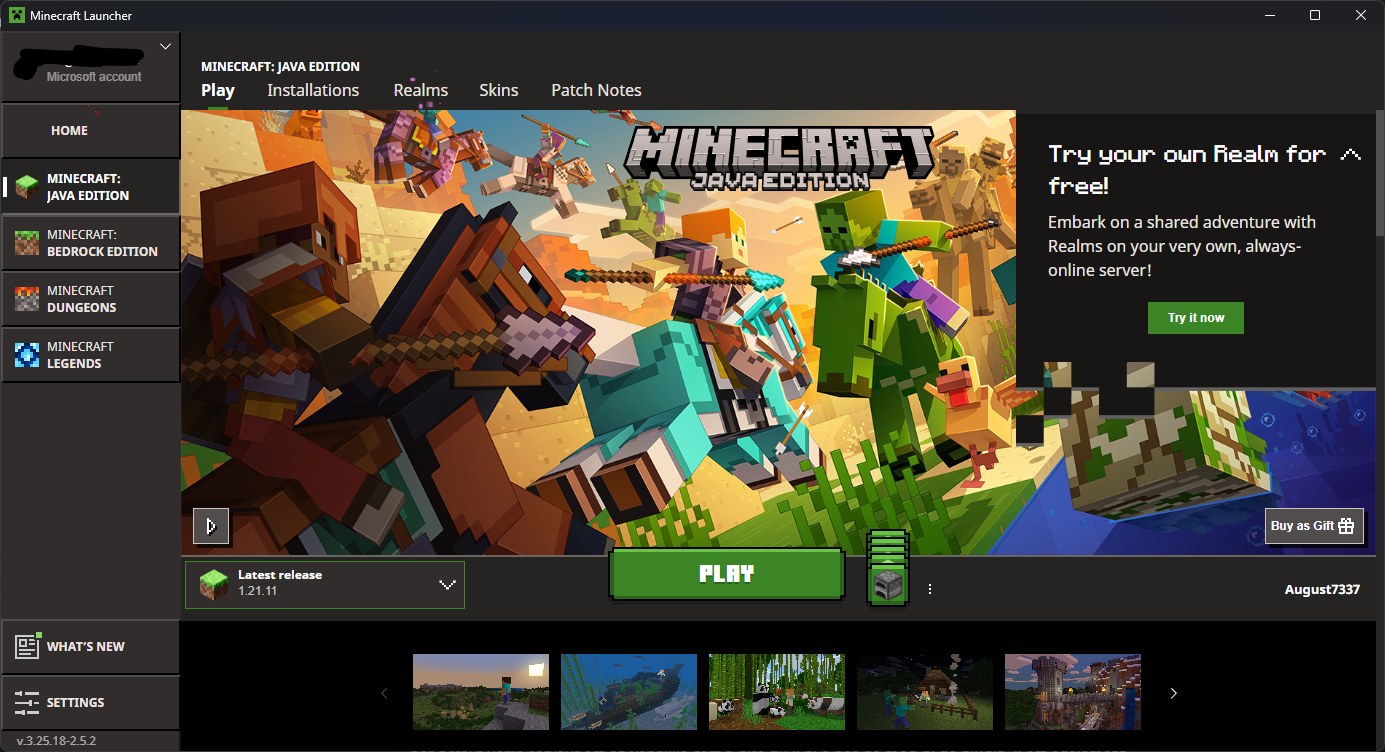
- Launch Minecraft Launcher (official launcher or any compatible launcher)
- Start Minecraft
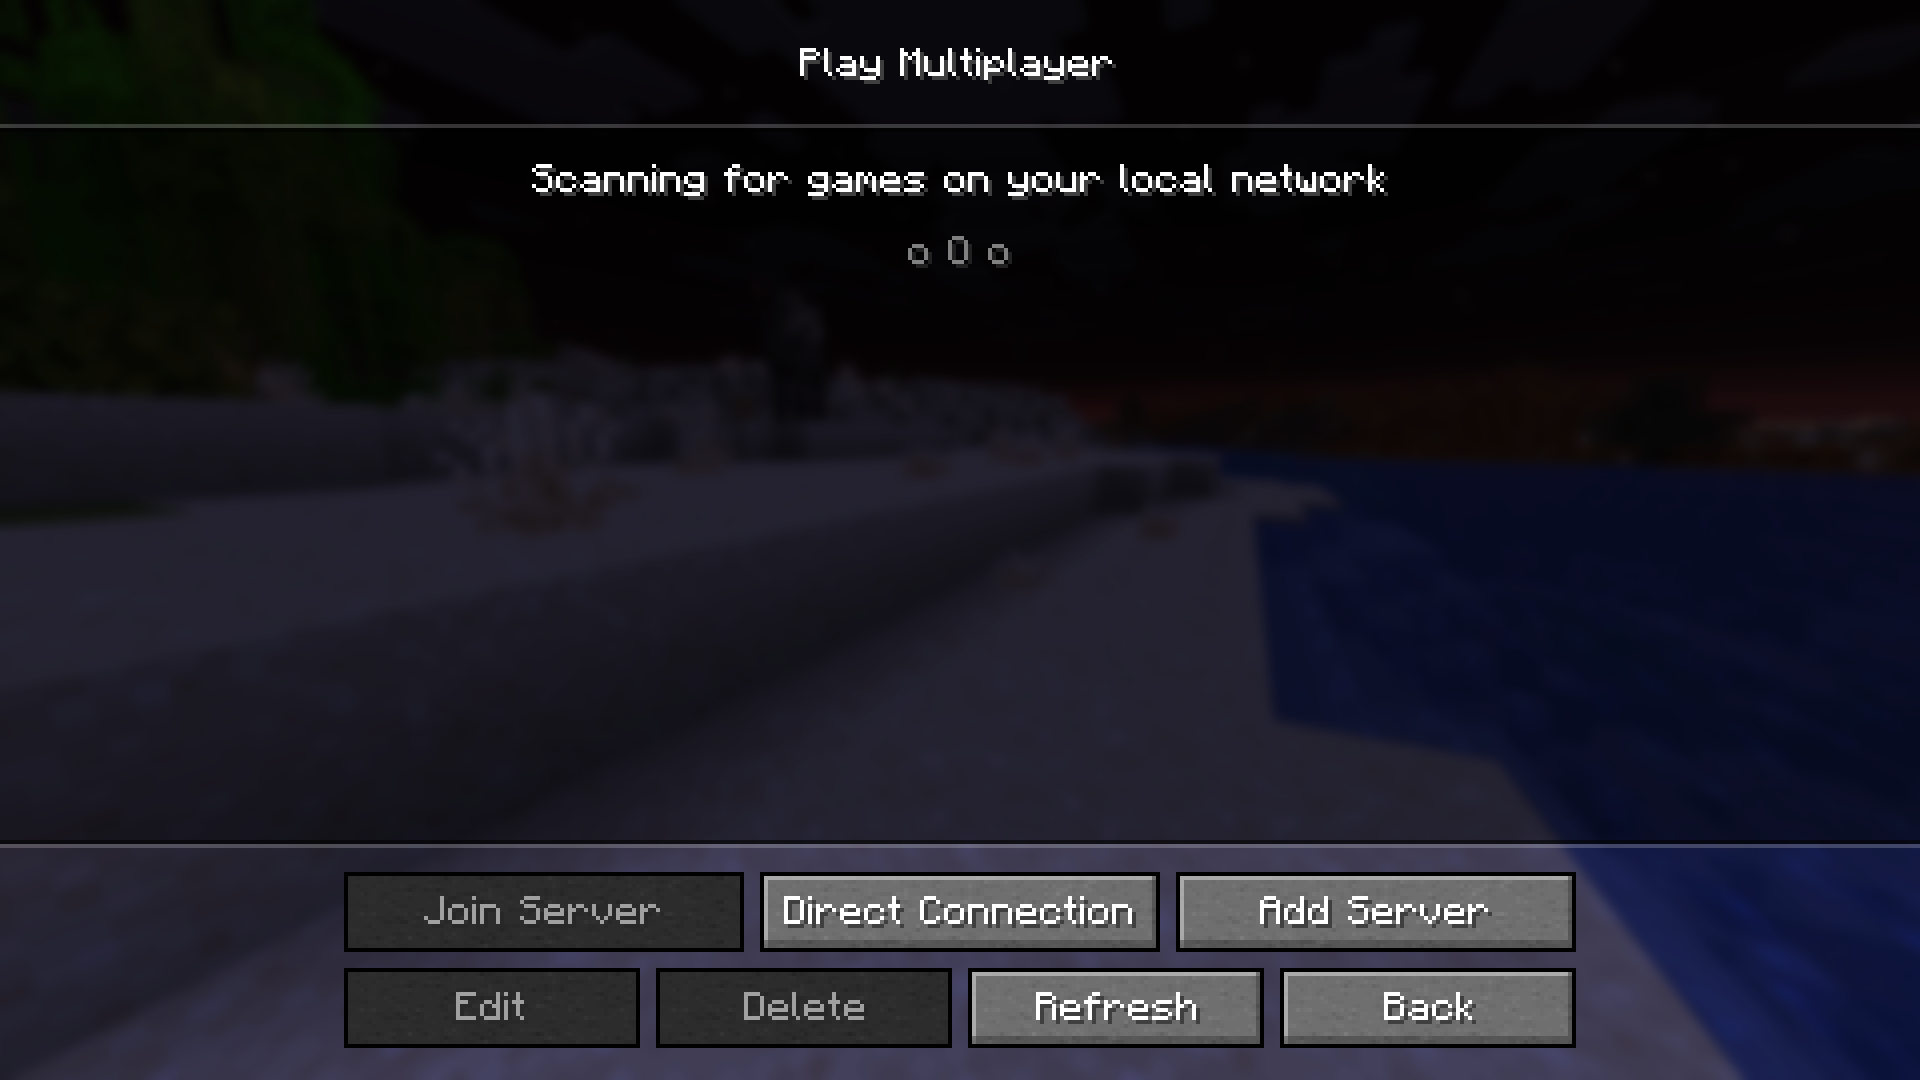
- From the main menu, select Multiplayer
- Click on Add Server
Fill in the fields:
- Server Name: Any name you want (this is only for your personal list)
- Server Address: Enter the IP address shown in the control panel
- You can find it at the top right, just below the Start button
- Click Done

Connecting to the Server
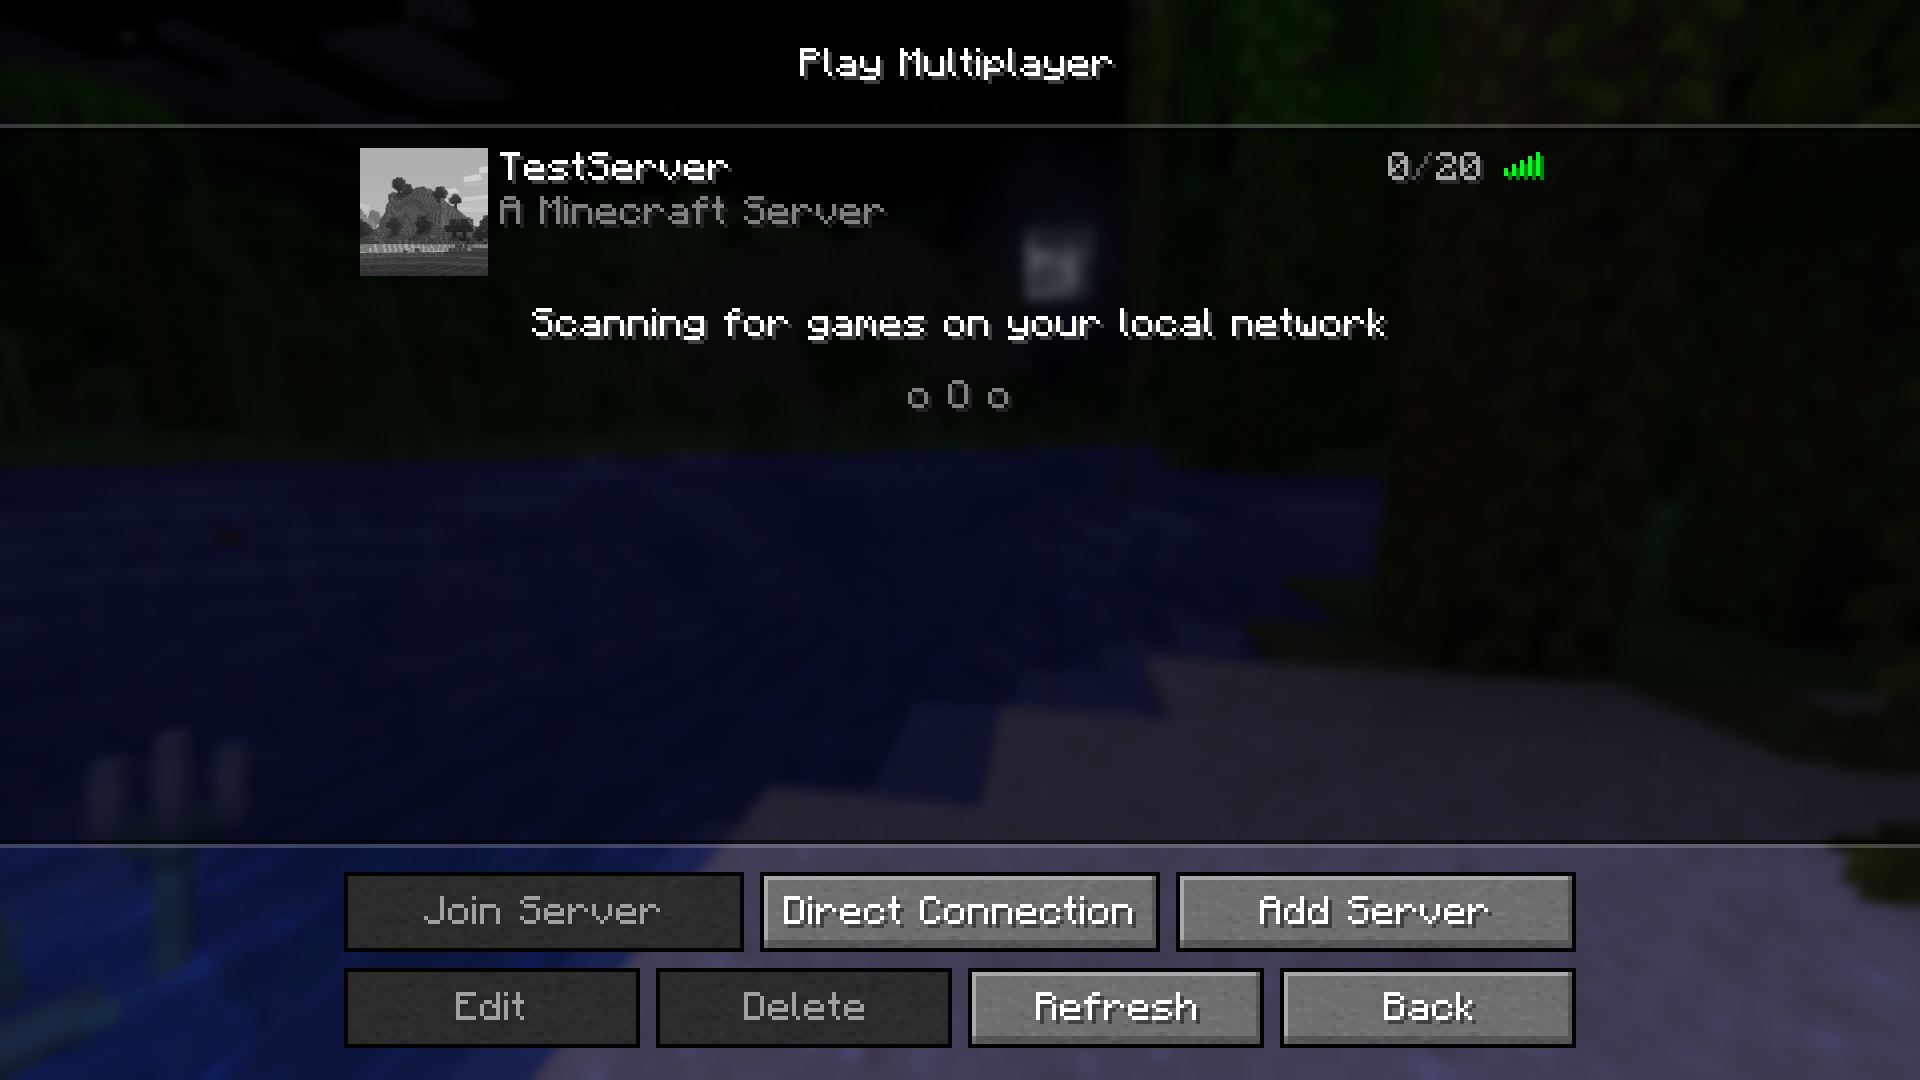
- Your server will now appear in the server list
- Select your server
- Click Join Server
You are now connected to your Minecraft server. Enjoy your game on Fire Hosting!